Foraging for Wild Clay in Northwestern Ontario: The Best Tools are the Ones You Already Have
This summer, we’re having a lot of fun scouting and digging up wild clay. We are harvesting this raw clay to use for our upcoming late-summer and fall workshops, turning heavy grey muck into workable material for pots, plates, and sculptures.
The best part is that you don’t need an expensive ceramic supply catalog or specialized studio gear to do this. If you check the garden shed and look under the kitchen sink, you already own the tools required to clean raw dirt. We are using everyday household items to strain out the rocks and roots, keeping our equipment costs at zero.
Harvesting your own wild clay completely changes how you look at the ground beneath your boots.
Here is the exact breakdown of the basic, low-tech tools we are using to process this summer’s harvest.
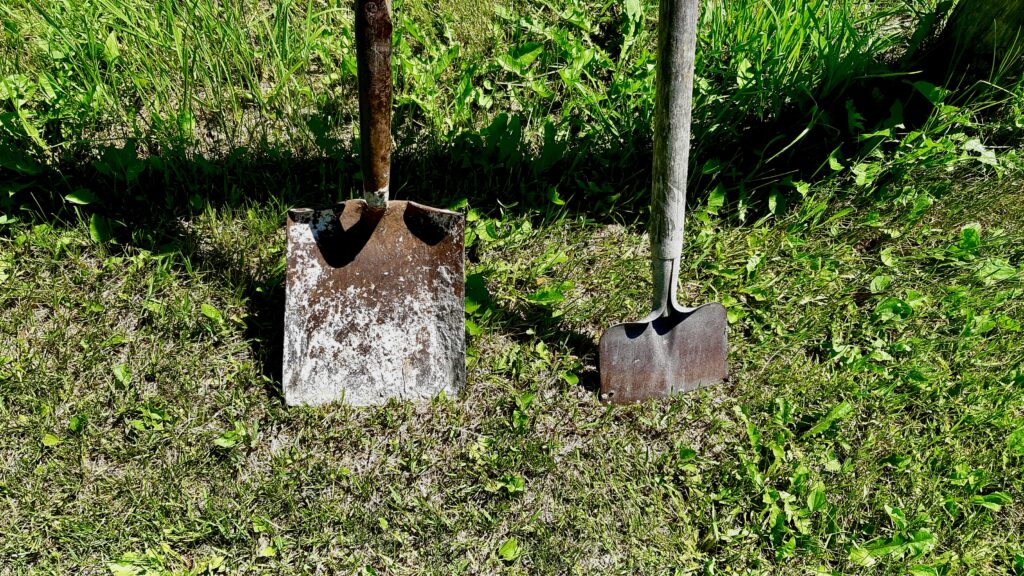
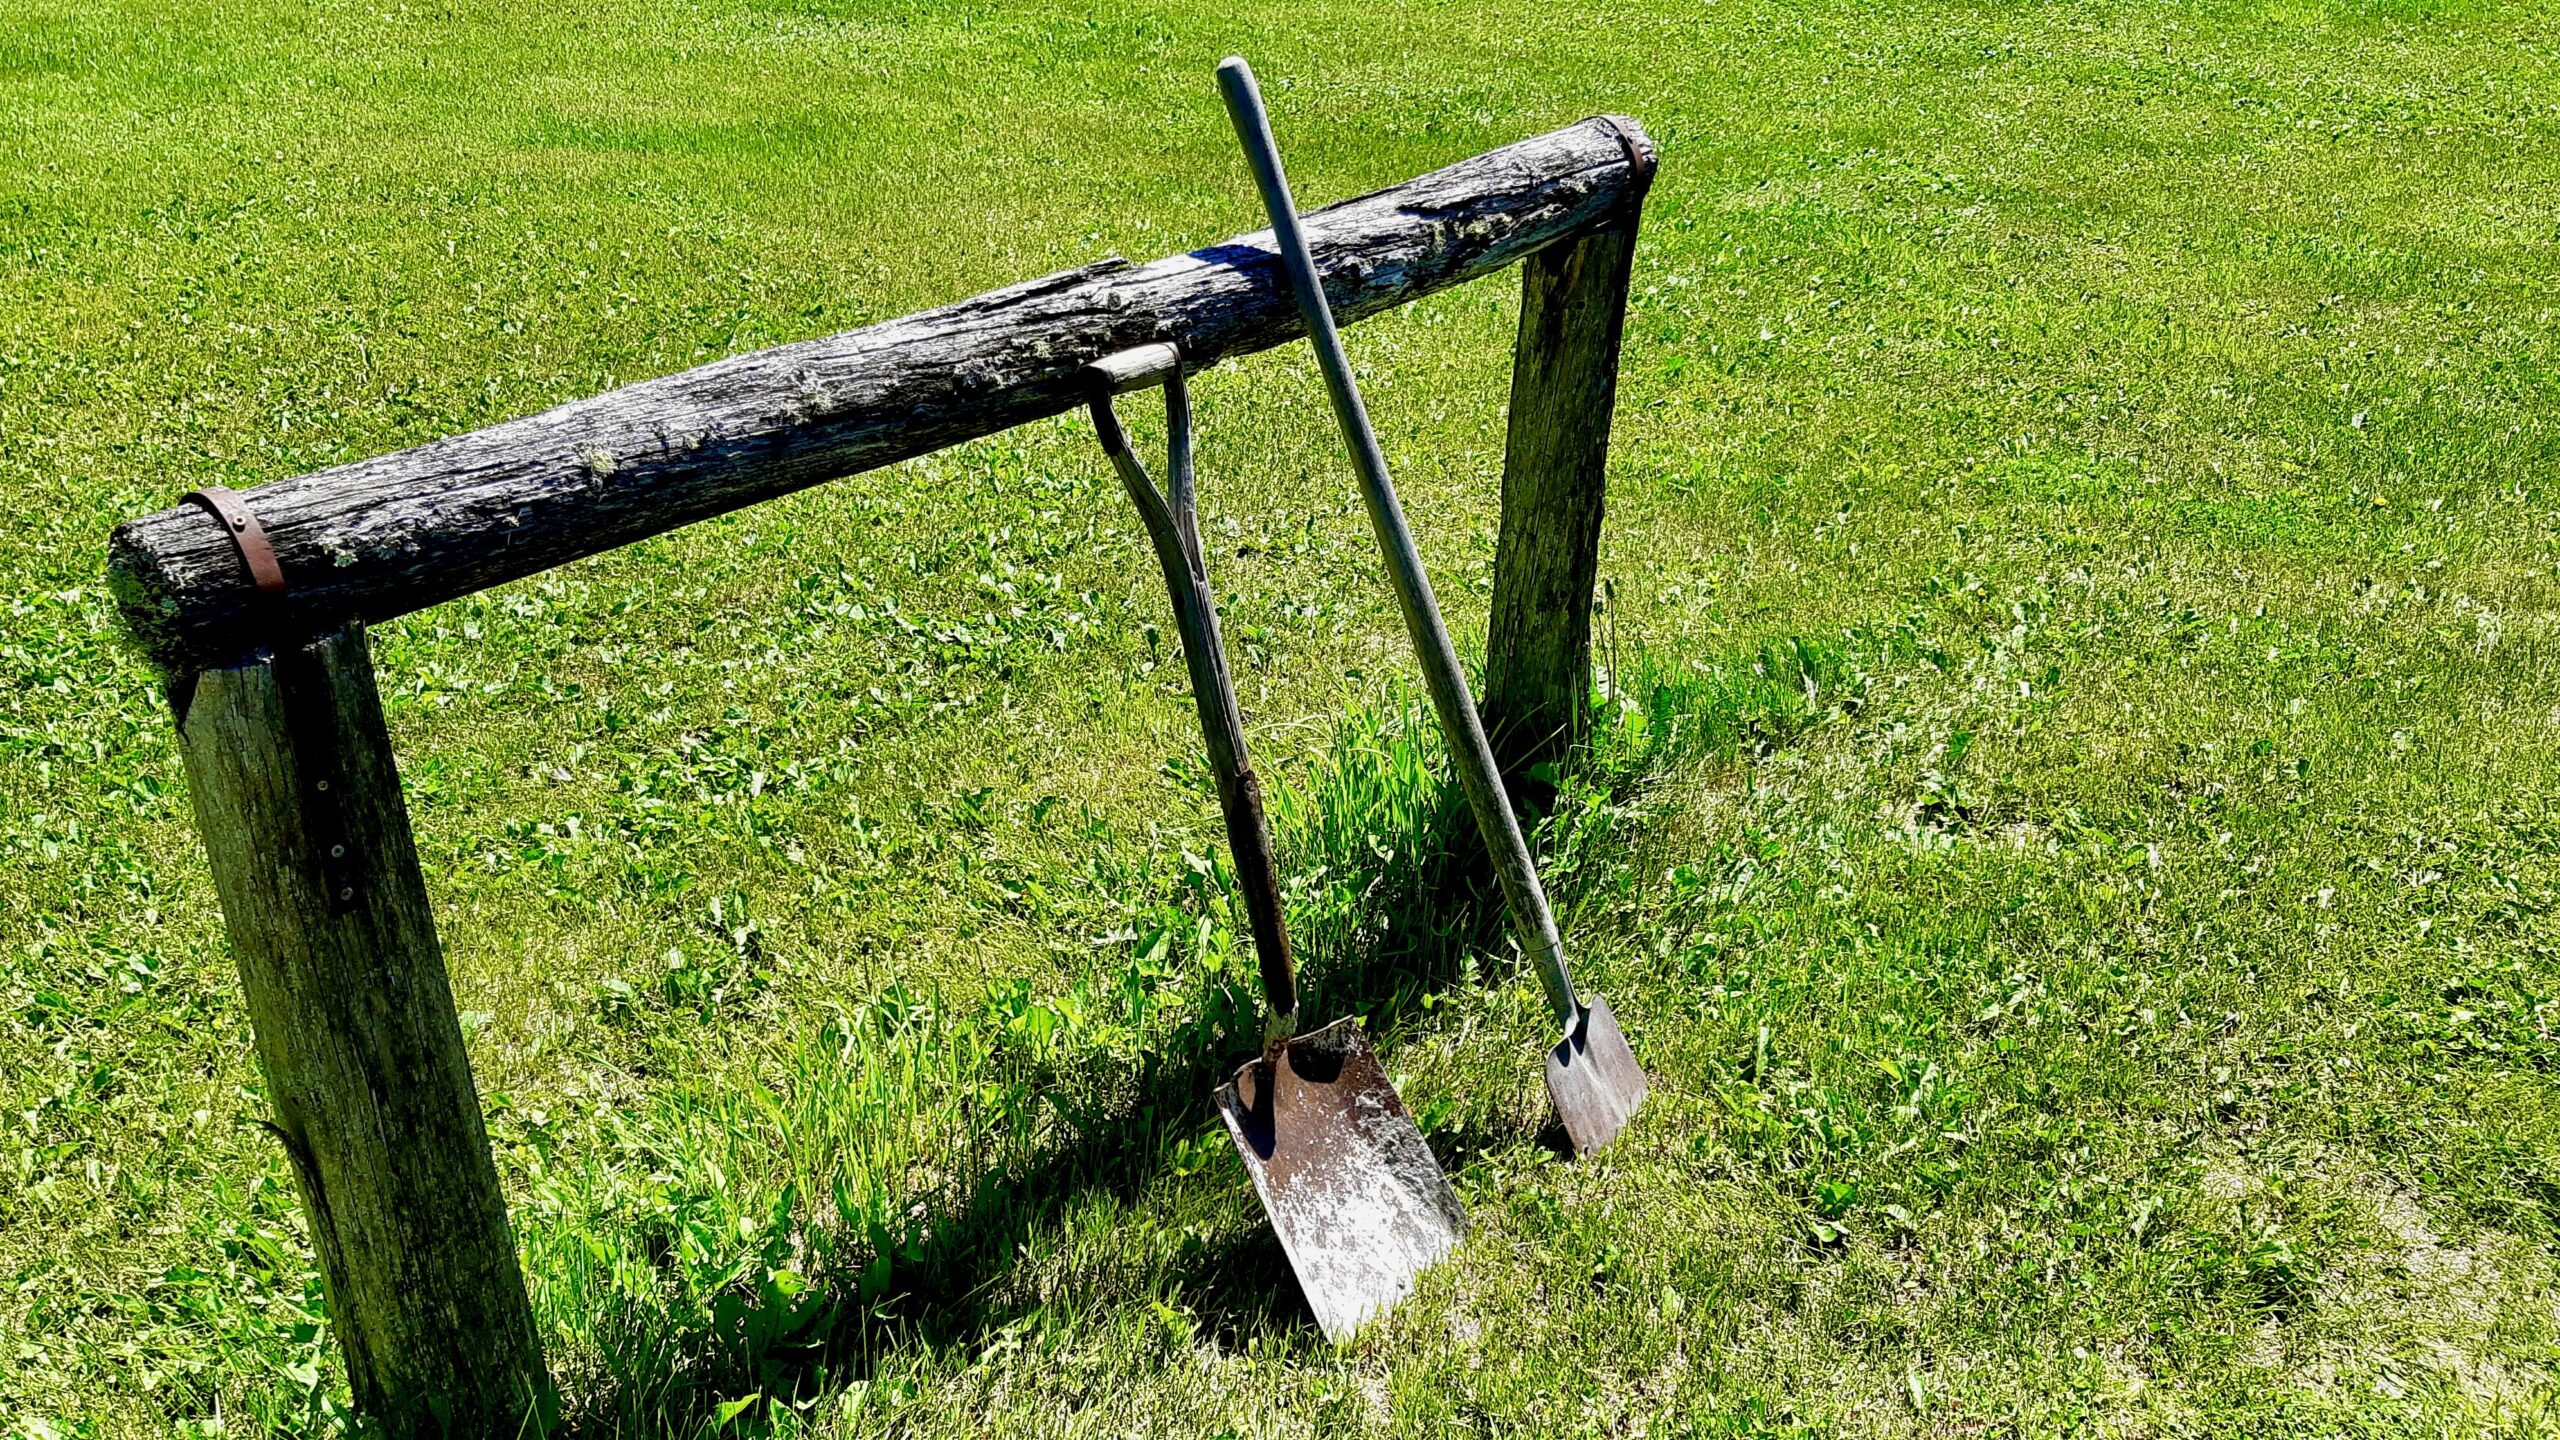
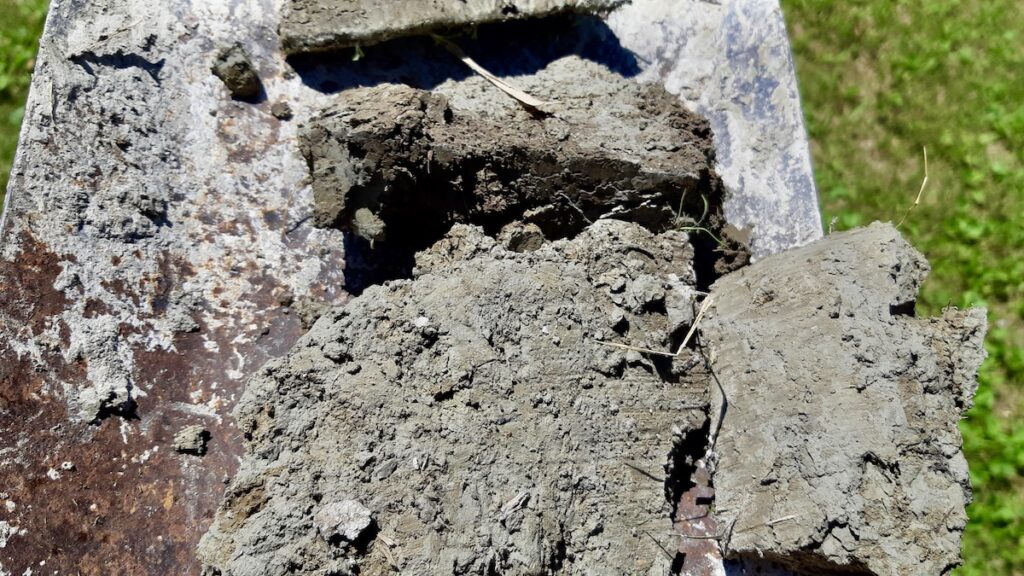
The Heavy Hitters: Shovels and Spades
Before you can process clay, you have to get it out of the ground. For this, we rely on two basic backyard staples: a classic square-mouth spade and a narrower edger shovel. Northwestern Ontario earth can be dense, packed with roots, and occasionally stubborn. The flat edge of a square spade is perfect for slicing cleanly into a clay vein and lifting out manageable chunks, while the narrower tool helps us get into tighter spots or scrape away the top layer of organic soil to expose the clean clay underneath.
Best of all, this stage costs absolutely nothing. These are the exact same tools used for turning garden beds or edging a lawn, so you can just grab whatever is currently leaning against your garage wall.
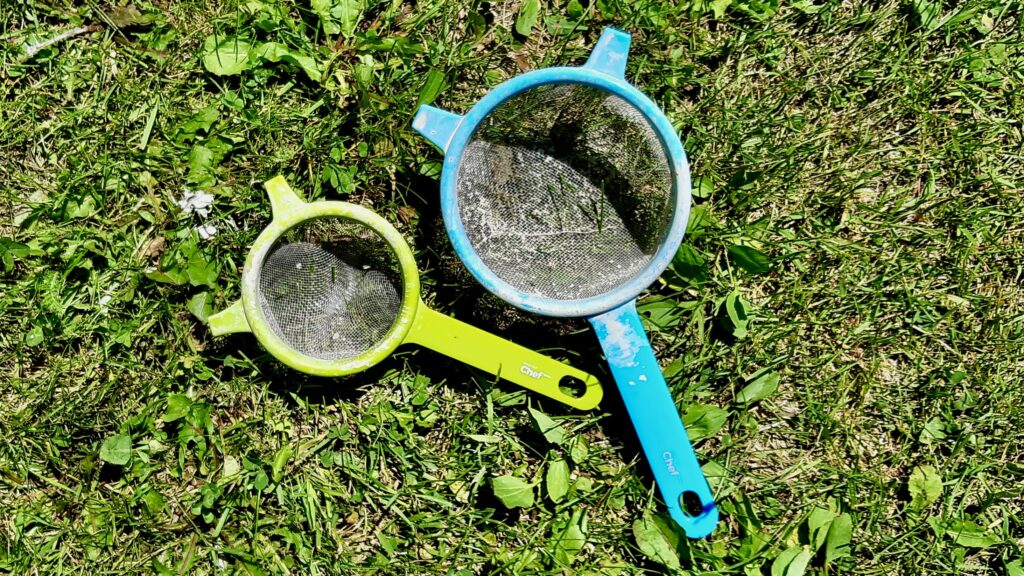
The Refiners: Kitchen Strainers and Sieves
Once your clay is out of the ground and dissolved in water into a liquid slurry or “slip,” you have to separate the good stuff from the rocks, roots, and pine needles. For this, we use a two-step filtration system using standard wire-mesh kitchen sieves.
Passing the liquid clay through the larger blue strainer catches the big debris like small pebbles and twigs. Running it a second time through the finer green strainer catches the smaller grit, leaving you with a silky, pure clay slip ready to be dried down. This step will only run you a few bucks if bought new, but usually, these are just retired kitchen tools that have been reassigned to the art studio. Just make sure they don’t find their way back to the pasta cupboard!
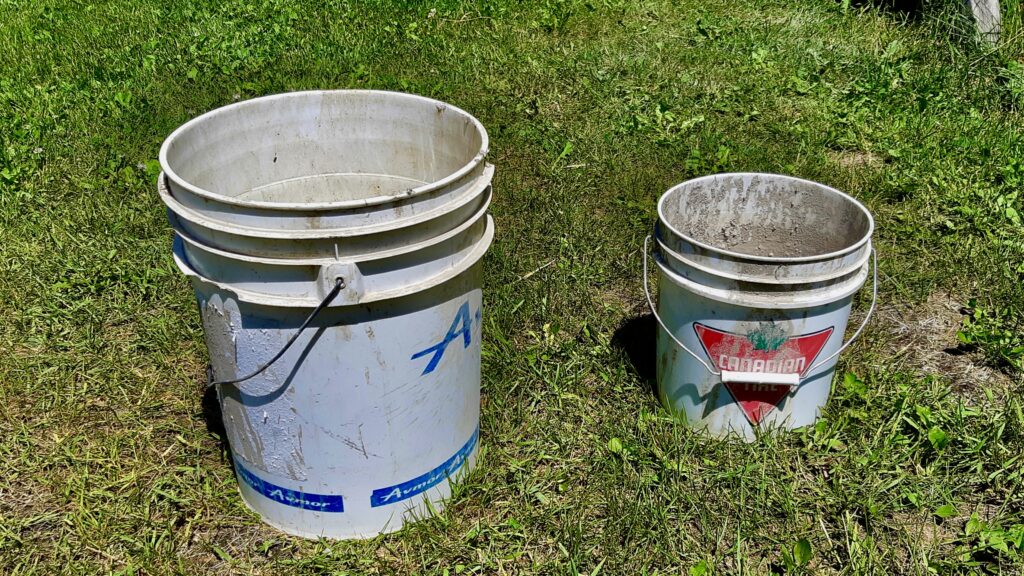
The Workhorses: Plastic Buckets
You can never have too many buckets when you are processing wild clay. We use a mix of large five-gallon pails and smaller utility buckets because they truly are the lifeblood of this project. You need them to haul the raw, heavy clay back from the digging site, to slake and dissolve the clay in water, and to hold the refined slurry as it settles.
The standard five-gallon size is perfect for mixing, while the smaller buckets, like our trusty Canadian Tire pail, are great for carrying smaller batches without throwing out your back. This is another step that is practically free, as most people have old hardware, paint, or renovation buckets kicking around the yard. A quick rinse is all it takes to get them ready for clay duty.
Harvesting your own clay connects you directly to the landscape, and doing it with repurposed, everyday tools makes the process feel even more rewarding. It’s accessible, it’s resourceful, and it is a ton of fun. We can’t wait to see how these wild materials transform when our workshops kick off later this season!
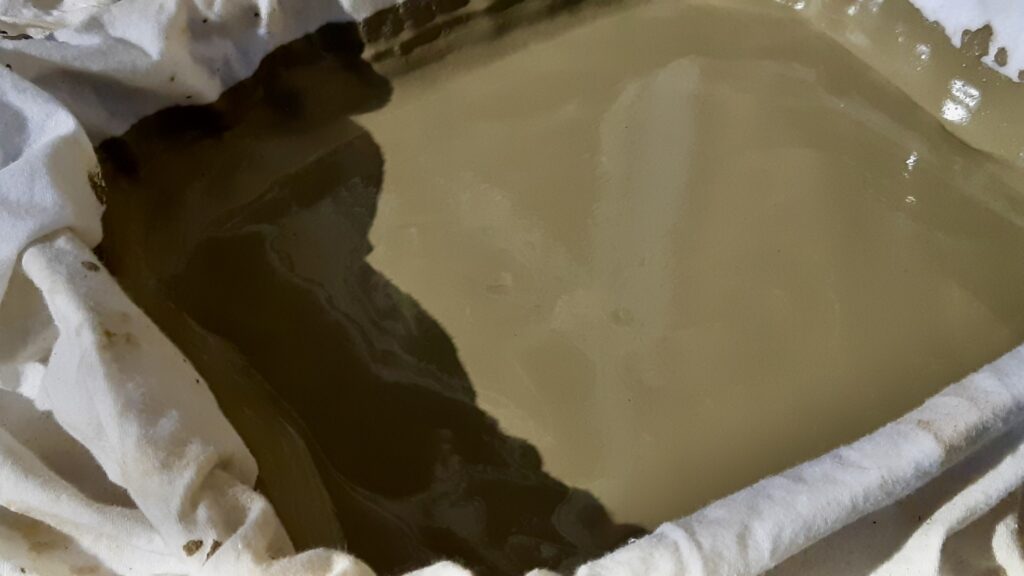
The Dryers: Old T-Shirts and Shallow Pans
Once the clay is beautifully strained and smooth, it is still a liquid slurry that is far too wet to work with. To transform it into a moldable dough, we need to draw out the excess moisture. This is where our final set of household heroes comes into play: old cotton t-shirts and shallow metal baking pans.
We line a wide, shallow pan with an old t-shirt and pour the liquid clay slip directly into it. The magic here lies in the fabric. Cotton is incredibly breathable and acts like a gentle wick, drawing water out of the clay and letting it evaporate, while the tight weave keeps all the fine clay particles perfectly contained inside. The shallow pan underneath gives the slurry plenty of surface area to dry evenly in the warm summer air.
Later, once the clay reaches a soft, thick consistency, the t-shirt serves a double purpose. We can wrap the clay up entirely inside the shirt like a bundle. This lets us easily move it, hang it up to squeeze out the last bit of moisture, or let it dry out completely. If we want to store it long-term for future workshops, we let it dry until it’s bone-dry inside that shirt, and then we can comfortably pulverize it back into a fine powder without making a massive mess. When we are ready to use it in the fall, we just add water back in.
Like everything else in our setup, the cost is absolutely nothing. You can use old t-shirts that are destined for the rag bin and stained or warped baking sheets that have seen better days in the kitchen. They cost zero dollars, they give a second life to textiles and housewares, and they work every bit as well as professional pottery plaster bats.
Go See What Your Own Backyard Has to Offer
It feels amazing to look at a finished pot or plate and realize it was just sticky, unrefined mud under your boots a week ago.
Foraging your own materials forces you to slow down and tune into the landscape in a completely new way, turning a standard afternoon outdoors into a hunt for geological treasure. You start noticing the distinct bands of color in creek beds, the weight of the soil after a heavy rain, and the slick texture of a freshly dug trench.
You don’t need specialized equipment, a studio kiln setup, or a big retail budget to start experimenting with these raw materials, either. The entire process relies on resourcefulness and a willingness to get a little messy. Just raid the garden shed for an old shovel, track down a couple of empty utility buckets, and go see what your own piece of the earth has to offer.
Your next great studio staple is likely waiting right under your feet, ready to be dug up and shaped into something permanent.

).jpg)